タイトルは釣りです。ごめんなさい。
昨日、ハマってしまったのでRecyclerViewについて整理したことをメモ。
RecyclerViewの最小構成
layoutファイル
activiity_main.xml 画面幅一杯のRecyclerViewを配置
<?xml version="1.0" encoding="utf-8"?>
<android.support.constraint.ConstraintLayout
        xmlns:android="http://schemas.android.com/apk/res/android"
        xmlns:tools="http://schemas.android.com/tools"
        xmlns:app="http://schemas.android.com/apk/res-auto"
        android:layout_width="match_parent"
        android:layout_height="match_parent"
        tools:context=".MainActivity">
    <android.support.v7.widget.RecyclerView
            android:layout_width="0dp"
            android:layout_height="0dp"
            app:layout_constraintEnd_toEndOf="parent"
            app:layout_constraintStart_toStartOf="parent"
            app:layout_constraintTop_toTopOf="parent"
            app:layout_constraintBottom_toBottomOf="parent"
            android:id="@+id/recycler_view"/>
</android.support.constraint.ConstraintLayout>
layoutファイル RecyclerViewのitem
RecyclerViewのアイテム サンプルとしてImageViewとTextViewを配置
recycler_item.xml
<?xml version="1.0" encoding="utf-8"?>
<LinearLayout
              xmlns:android="http://schemas.android.com/apk/res/android"
              xmlns:app="http://schemas.android.com/apk/res-auto"
              android:orientation="vertical"
              android:layout_width="match_parent"
              android:layout_height="match_parent">
    <ImageView
            android:layout_width="wrap_content"
            android:layout_height="wrap_content"
            app:srcCompat="@drawable/glogo"
            android:id="@+id/imageView"/>
    <TextView
            android:layout_width="match_parent"
            android:layout_height="wrap_content" android:id="@+id/textView"/>
</LinearLayout>
Activity
Activity側の最小の実装
class MainActivity : AppCompatActivity() {

    override fun onCreate(savedInstanceState: Bundle?) {
        super.onCreate(savedInstanceState)
        setContentView(R.layout.activity_main)

        val recycler_view = findViewById<RecyclerView>(R.id.recycler_view)
        //RecyclerViewを利用する時は必ずlayoutManagerを指定する
        //指定しないと例えadapterをセットしてもUIに反映されない。というかadapterのコールバックが呼ばれない
        recycler_view.layoutManager = LinearLayoutManager(this,LinearLayoutManager.HORIZONTAL, false)

        //RecycleViewはデフォルトでViewHolderパターンを採用しているので、
        //ViewHolderの定義しておく
        class mViewHolder(item_view: View): RecyclerView.ViewHolder(item_view){
            val textView = item_view.findViewById<TextView>(R.id.textView)
        }
        // adapterのセット
        // RecycleViewのadapterはRecyclerView.Adapterの抽象メソッドを実装する
        recycler_view.adapter = object : RecyclerView.Adapter<mViewHolder>(){
            //ViewHodlerの生成
            override fun onCreateViewHolder(parent: ViewGroup, p1: Int): mViewHolder {
                val itemView = LayoutInflater.from(parent.context).inflate(R.layout.recycler_item, parent,false)
                return mViewHolder(itemView)
            }
            //ViewHodlerで保持しているviewに対して値をセット
            override fun onBindViewHolder(holder: mViewHolder, p1: Int) {
                holder.textView.setText( p1.toString())
            }
            //RecycleViewに配置するitem数
            override fun getItemCount(): Int {
                return 3
            }
        }
    }
}
ListViewと違うのは、layoutManagerをセットしないとadapterをセットしただけでは動作しません。
recycler_view.layoutManager = LinearLayoutManager(this,LinearLayoutManager.HORIZONTAL, false)
上記の実装ではLinearLayoutManager.HORIZONTALを指定したので、横スクロールします。


アイテムのサイズを調整する
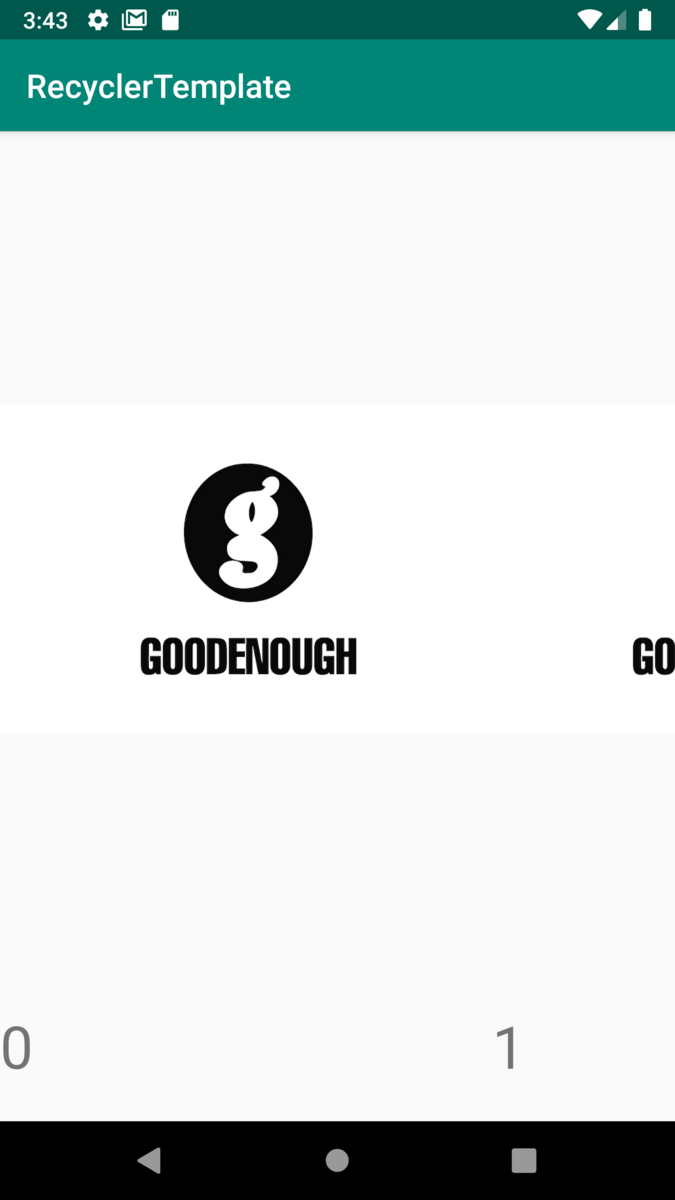
私はアイテムサイズを変更の際、recycler_item.xmlをLinearLayoutで記述しており、何故か中のViewがloopしていると勘違いしていました。よって、中のView自体のサイズを変更すると以下のようなレイアウトになってしまいます。


ご覧のように画面幅一杯にitemが配置され、いくらviewサイズを小さくしてもpaddingが大きくなります。
itemのサイズを小さくするにはLinearLayoutのViewGroupがloopしているのでViewGroupのサイズを調整します。
<?xml version="1.0" encoding="utf-8"?>
<LinearLayout xmlns:android="http://schemas.android.com/apk/res/android"
              xmlns:app="http://schemas.android.com/apk/res-auto" android:orientation="vertical"
              android:layout_width="300dp"
              android:layout_height="match_parent">
    <ImageView
            android:layout_width="wrap_content"
            android:layout_height="wrap_content" app:srcCompat="@drawable/glogo" android:id="@+id/imageView"/>
    <TextView
            android:layout_width="match_parent"
            android:layout_height="wrap_content" android:id="@+id/textView" android:textSize="36sp"/>
</LinearLayout>

少し頭を冷やせばすぐにitem自体がloopしていると気づくのですが、これに気づかずに長時間ハマってしまいまいた(^_^;)
アイテムのマージンを調整する
アイテムのマージンはRecyclerView.ItemDecorationの実装をセットします。
val recycler_view = findViewById<RecyclerView>(R.id.recycler_view)
recycler_view.apply {
    layoutManager = LinearLayoutManager(context,LinearLayoutManager.HORIZONTAL, false)
    addItemDecoration( object : RecyclerView.ItemDecoration(){
        override fun getItemOffsets(outRect: Rect, view: View, parent: RecyclerView, state: RecyclerView.State) {
            outRect.right = 20
        }
    })
}
このようにgetItemOffsetsにマージンの値を指定します。

